Some time ago my friend Gerald bought round some Ash for me to use to re-handle some of my tools. I split it up and left it in the Apple Room to dry out...

One of the tools that has been languishing in a draw is a rather fine Japanese laminated Axe head. So this weekend I decided that the Ash was seasoned enough for me to set about the job of making a new helve for it. The first thing to do was select a nice piece for the job. One of the billets had a knot about a third of the way up, so I decided to use this piece as I didn't need a full length and I could cut out the knotty piece...

As with all this work it is best not to rush anything. Have a picture in your mind of the finished job...

With my Axe I gently start removing the waste wood. I am looking for an elliptical shape down the length of the billet...

Of course the chickeny helpers are always near...

Because of the unusual set of this particular head I make the helve into an "S" shape so I can fit my hand tight up and under the beard of the Axe...

When I am close to the desired shape, I start to use my carving knife to get things flowing...

I carefully shape the part that will slip through the Eye of the Axe. This needs to be an interference fit. I will tap the head on as far as it will go, and then remove it again. As you can see, this leaves a mark on the wood that I can use as a template. I will keep doing this until I have enough wood through the Eye....

Knock the head on...

And take it off again...

As you do this you will get a feel for the helve as you handle it more. With the knife remove more waste and add shape...

When the head fits the helve, I will add the final carving touches and then scrape down the helve with a small knife blade. I usually use a little Opinel, which I sharpen up on a medium diamond stone. A friend bought a set for me from a local builders merchant, very cheep, very useful...

With this technique I can get a very good finish that will need minimal sanding...
The next thing to do is cut in a slot for the wedge that will affix the helve to the head...
Cut down until the slot nearly reaches the bottom of the depth of the Eye...

Next I will fashion a wedge making sure to mark the depth to which the wedge will fit into the slot. This will help me to know when I have reached the fullest depth as I am pressing the wedge home...

First I split a small billet down to size, then fashion the wedge shape...


And mark up...


I will present the wedge to the slot one final time just to make sure all will fit nicely together...

Next step is to gently press the head onto the helve. This time it will be easier because of the recently cut slot...

I will place the wedge into the slot and you can either employ a lump hammer, carefully tapping the wedge in, or in my case I employed a sash clamp and carefully pressed the whole assembly home...


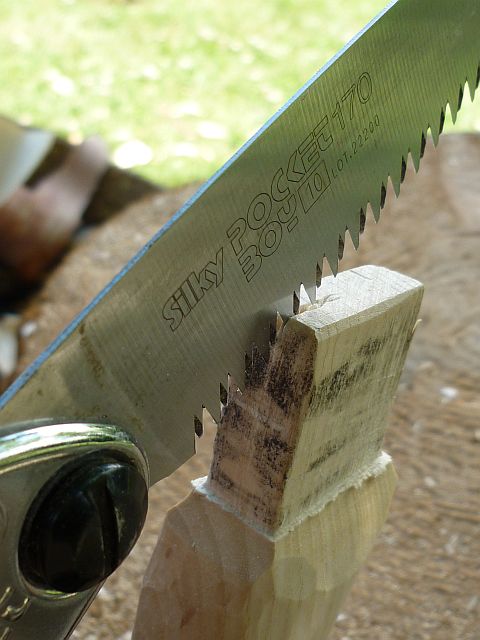
When the wedge is at its maximum depth I remove the excess with a saw and tidy up with a knife...


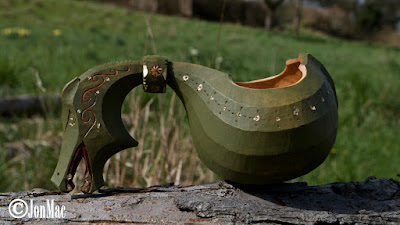
All nicely done...

A bit of a sharpen and away we go with some more spoons...
With Dolly the chickens help, I couldn't go wrong...

ENJOY...
See what else we get up to at... http://hennockhouse.blogspot.com/


No comments:
Post a Comment