First off, I'd like to thank all you folk who pop onto Spoon Carving First Steps both here and on my other social media outlets.
I haven't posted for quite a while here, I guess winter has a lot to do with it.
Well, today the sun is shining it's little head off, I was thinking of popping out for a walk, but I saw an opportunity to light up my newest creation.
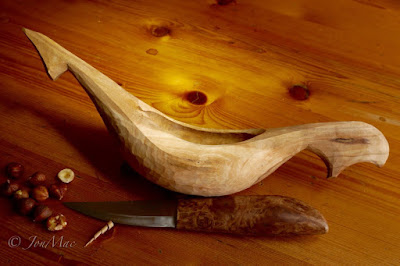
I have been working on her for quite a while, well, mainly staring at her to be honest, wondering where to go with the decoration.
I made a couple of errors along the way, however, I managed to turn them into design opportunities and everything worked out just fine.
I don't have a set of photos from beginning to end on this Hen, but you'll understand the process is just the same as other hens and kuksa I've carved.
You'll find detailed step by step info earlier in the blog.
This Hen is carved from Apple wood, grown in the small orchard here on the farm.
Usually I make sure I remove the heart wood, but in this instance I took the chance of leaving it in, Apple is pretty tough.
Once again I kept the tool roll small using three simple tools, Axe, Hook knife and my trusty ©MiniMac.
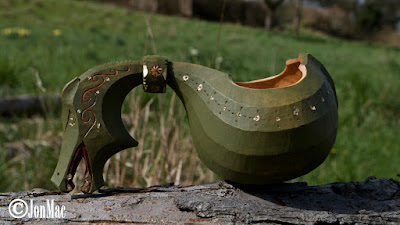
It took a little while to add the feathered detail to the Hen.
I don't need to buy a detail knife for this work.
One can simply adapt the knife with a little leather and tape.
Once the design is finished I rubbed in very dry, very fine coffee grounds.
So, here she is....
She's has a nice coat of Liberon Tung oil which will set over quite a short time giving a good protective natural coat.
She's for sale, so charge up your Pay Pal.
Thank you once more.
Have a great 2016.
Jon Mac.


What a lovely piece of work, so artistic.
ReplyDeleteThank you Dawn. She came out well.... J
DeleteCreative and fantastic! I've never tried spoon carving, but after this post I'm ready to get started.
ReplyDeleteBrilliant! I'm looking forward to viewing your ideas... J
Delete